
Jungle Print Cot Panel
I have always enjoyed sewing. My mum showed me how to make clothes for my dolls. As there were six of us, mum always had either knitting needles or sewing in hand on an evening.
Over the years I have sewn, repaired and shortened items mainly as I wasn’t blessed with height. Turning trousers up is a regular task. One of the things I wanted to do was learn how to quilt. When I retired from full time 9-5, it was on my ‘to-do’ list. I have been practising cutting up pretty fabrics into squares, sewing them together again into different pattern. I enjoy working at Fabric Magic as I get to see lots of beautiful fabrics.
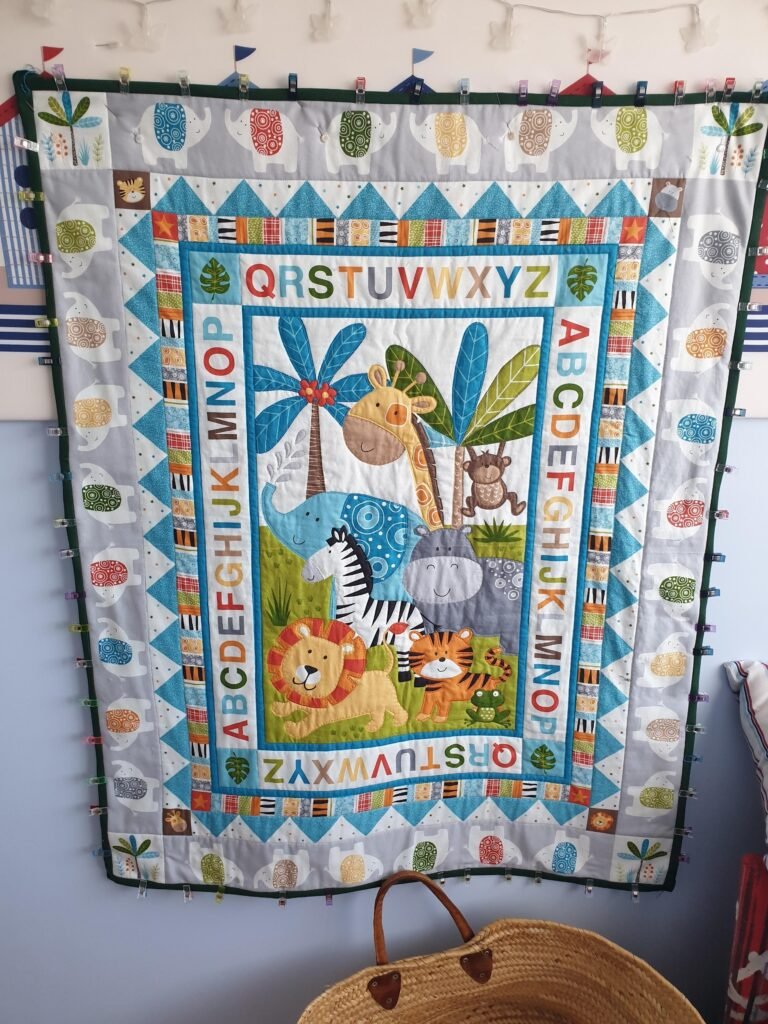
Before Christmas I saw a jungle print cot panel on display in the shop. I have never worked on a pre-printed panel before. I asked colleagues, it seems that you can do as much or little as you like, hand stitch or machine. My hand stitching isn’t consistent, but my machine does. I bought the panel, a backing fabric with a similar jungle theme, some 100% dark green cotton for the binding with a piece of sarille (synthetic batting) for the wadding.
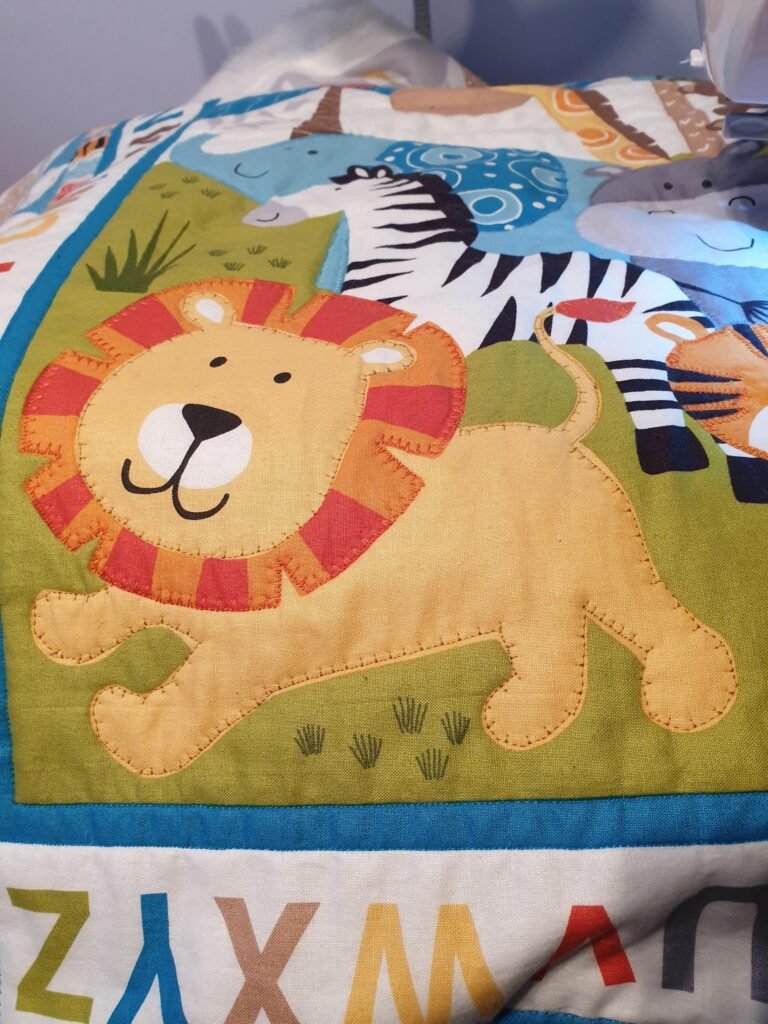
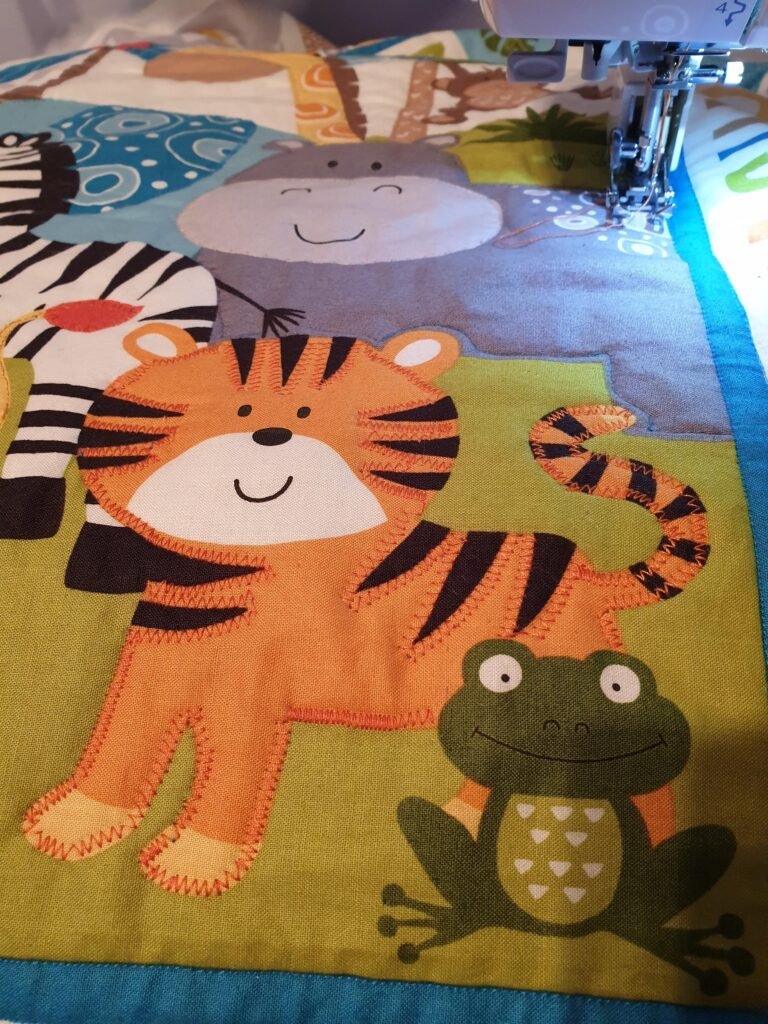
I placed the sarille onto the backing fabric and lightly sprayed a layer with 404 repositionable adhesive, adding my jungle panel on top, just lightly spraying with the adhesive, so the three pieces are together as a sandwich. I decided to stitch around the edges of the animals to bring out their features. I used a variety of decorative stitches, with thread best matched to the colour on the quilt. Some stitches worked really well, such as the one around the hippo’s face. The one on the trees, was less successful.
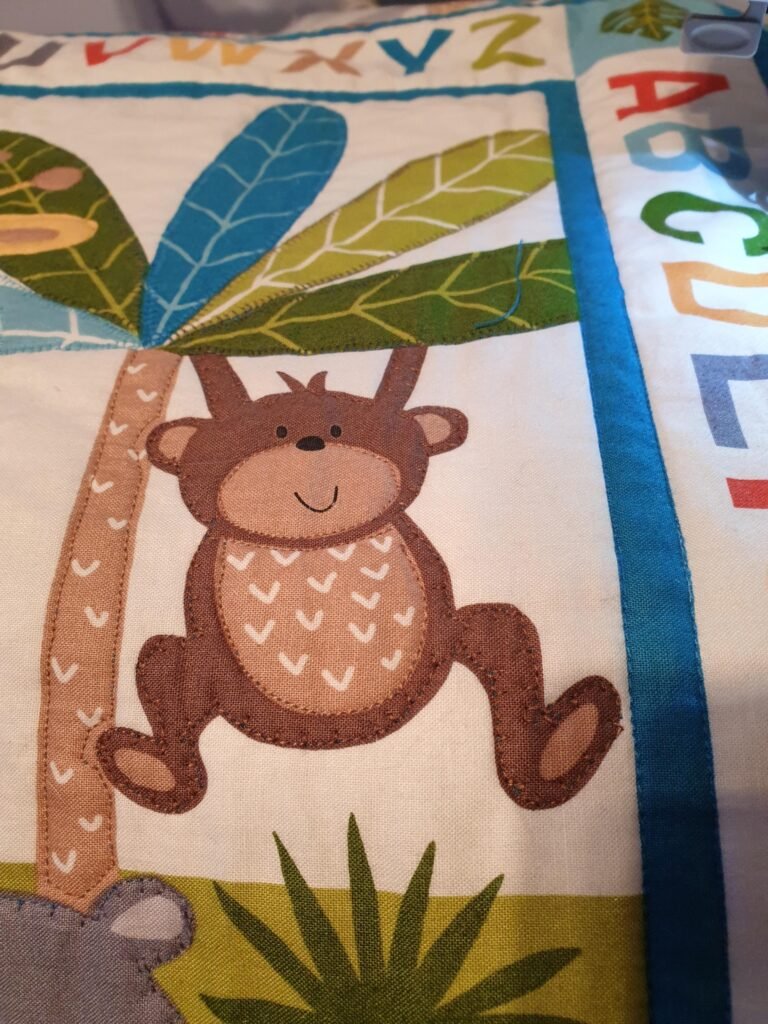
However, it’s fun trying them out. I edged the inside of the lion’s mane with a ‘V’ shape stitch, to make it stand out. A zigzag stitch around the tiger stripes. I outlined the monkey and then outlined his tummy. I like the giraffe and am pleased with the ears and ossicones.
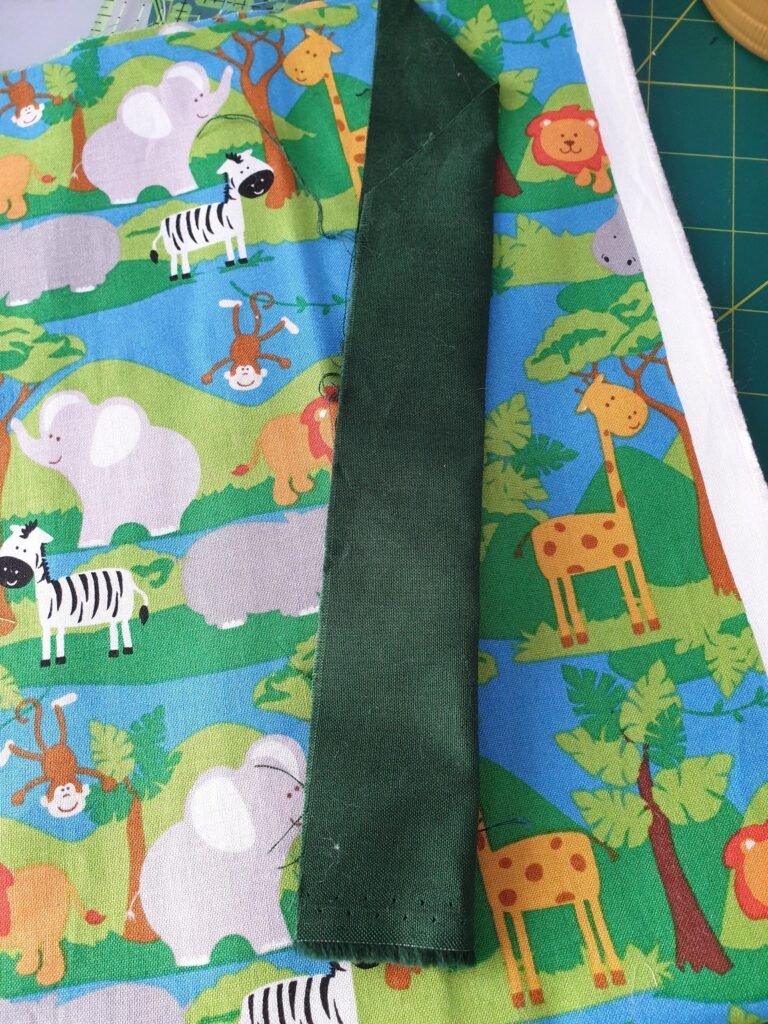
When I thought I had enhanced the scene as best as I could, it was time to neaten the edges, and think about binding. As it is just straight, two sides, a top and a bottom, I cut four 3” strips from the dark green. Sewed together to make a piece long enough to go around the whole of the quilt.
I folded the strips in half and pressed them. I then sewed the binding to the right-side face of the quilt. Raw edges to the outside, stitched the binding on. I pressed the binding away from the face of the quilt and started to fold it towards the back. I use the little clips for this as it is easier than pins.
They don’t mark the fabric, go over the layers with ease and are quickly moved to where you want them.
I hand stitched the binding to the back of the quilt. I enjoy the hand sewing on the back as it gives me satisfaction that another project is almost complete. I do however, find mitred corners a real pain. I watch YouTube but I never get them right, I try unpicking them, but I can never get them just so. The ones on this piece of work look like pixie ears, sticking out at an angle, but hey ho, none of my new born recipients have ever told me that they could do better.
